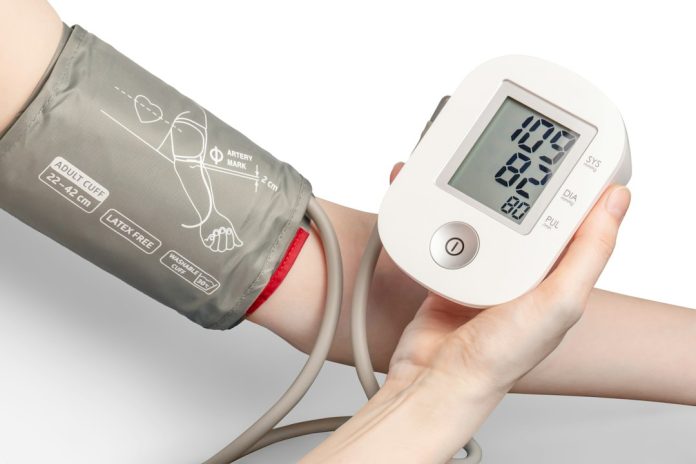
Home blood pressure monitoring can reveal patterns that a single clinic measurement may miss. But a monitor cannot correct for a rushed setup, an unsuitable cuff or a reading taken while the body is still responding to activity. A reliable number begins with a repeatable routine.
The following seven checks can improve the quality of a home reading. They are practical measurement steps, not a diagnosis. Follow the plan given by your healthcare professional, and seek urgent care for severe symptoms or readings your clinician has told you require immediate attention.
1. Protect the 30-minute window
Avoid eating or drinking during the 30 minutes before a measurement. Also follow any additional instructions your healthcare professional has given you about caffeine, tobacco, exercise or medicines.
The point is consistency. If one reading is taken immediately after breakfast and another under quiet resting conditions, the two numbers do not represent the same situation. Record unusual circumstances instead of treating every measurement as directly comparable.
2. Empty your bladder
A full bladder can affect the conditions under which the reading is taken. Use the bathroom first, then begin the resting period.
This small step is easy to skip because it does not involve the monitor itself. Yet home measurement is a process, not simply a device. Standardising the process makes the resulting log more useful.
3. Sit quietly for five minutes
Choose a chair that supports your back and rest for at least five minutes before starting. Do not use this time to answer messages, finish a household task or hold a conversation.
Your goal is to let the measurement reflect a settled moment. If you have just climbed stairs, carried groceries or hurried across the room, wait until you have completed the rest period.
4. Place both feet flat
Keep both feet flat on the floor and leave your legs uncrossed. Sit upright with your back supported rather than perching on the edge of a bed or sofa.
Use the same chair when possible. A repeatable position reduces variation caused by the setup and makes trends easier for you and your healthcare team to interpret.
5. Put the cuff on a bare upper arm
Place the cuff directly on bare skin, not over a sleeve. Make sure it is snug and positioned according to the monitor’s instructions. The cuff size also matters: a cuff that does not fit the arm properly can undermine the reading.
If you are unsure about fit or placement, bring the monitor to an appointment and ask a healthcare professional to check your technique. A quick review can prevent weeks of misleading data.
6. Support the arm at chest height
Rest the arm on a table or other firm surface so the cuff is approximately at chest level. Do not hold the arm in the air or allow it to hang unsupported.
Arrange the chair, table and monitor before the five-minute rest begins. If you have to move furniture or reach for equipment immediately before the reading, restart the settling period.
7. Stay still and do not talk
Remain quiet while the monitor is operating. Talking, moving or reacting to the first displayed number can change the conditions of the next reading.
If your care plan calls for more than one measurement, use the interval and number of readings your clinician recommends. Record the values rather than selecting only the number you prefer.
Build a log that explains the numbers
A useful log includes the date, time, reading and any relevant note, such as illness, pain, poor sleep or a departure from the usual routine. It should also identify which arm was used if your clinician has not already established a standard side.
Bring the log to appointments. Trends across properly collected measurements can be more informative than an isolated high or low result, but interpretation belongs in the context of your health history and treatment plan.
Check the monitor, not only your technique
Use an upper-arm device that is appropriate for you and follow the manufacturer’s instructions. Keep the cuff and tubing in good condition, replace batteries before they become unreliable and store the monitor where it will not be damaged.
Ask whether your device should be compared with the equipment in your clinic. If a monitor consistently produces unexpected values, do not assume the body is the only possible cause; confirm both the equipment and the procedure.
When a number needs prompt attention
Do not change prescribed treatment on the basis of a home reading unless your healthcare professional has given you a specific action plan. If you experience symptoms such as chest pain, severe shortness of breath, sudden weakness, confusion or another emergency warning sign, seek urgent medical help rather than repeating measurements indefinitely.
Home monitoring works best when it is calm, consistent and connected to professional care. The device supplies a number; the routine gives that number meaning.